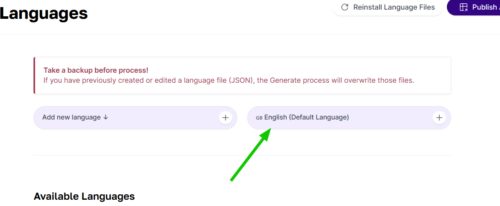
You can use the Add a new language dropdown to add a new language to your site.

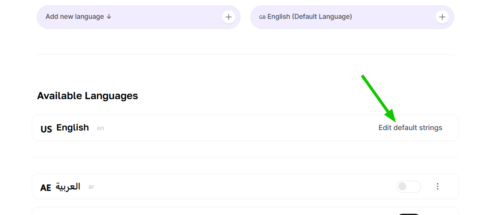
After adding the language, it will appear in the Available Languages list.
After adding a new language, you need to translate GPTWhiteLabel into that language. You can easily translate GPTWhiteLabel from the dashboard.
Click the triple dots on the right of the language you added and click Edit Strings.

Next, you will see the language edit page. Here you can enter your translations for each English string. After clicking the save button, your translations will be saved and published automatically.
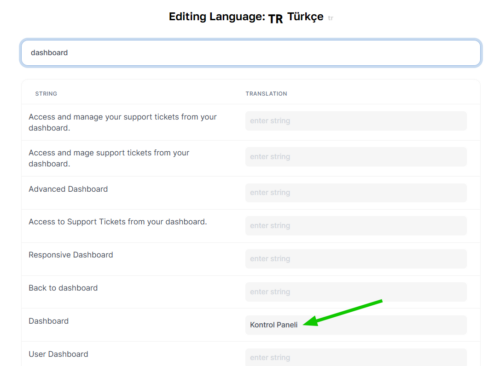
If a string you want to translate does not exist in this list, you can add a new string using the New String button at the top right and translate it.

Notice: If the string you want to translate contains HTML tags such as strong, i, you need to add the string with HTML tags. You can use your browser’s inspect element feature to see the raw form of strings on your site.
Example string: Generate <strong>text, image, code, chat</strong> and even more with
You can edit GPTWhiteLabel's English language default strings by clicking the edit default strings button.
You can set the default language of GPTWhiteLabel via the Default Language dropdown on the Language Settings page.
You can use the toggle switch to enable or disable a language installed on your site.
